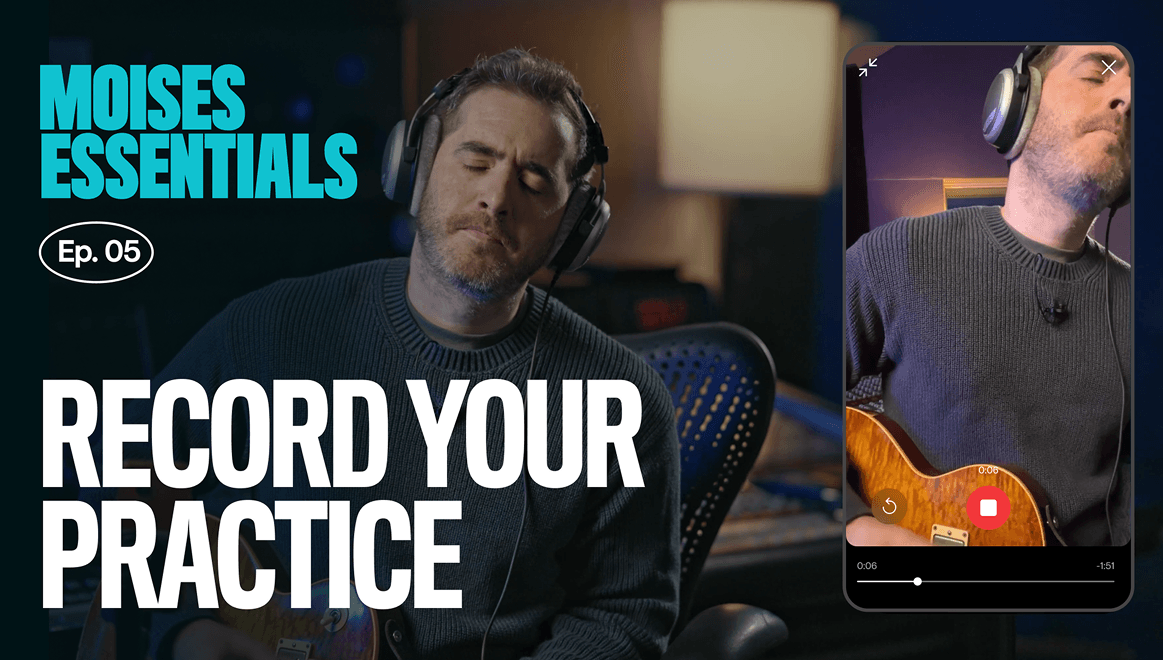
What this episode covers
By the end, you'll be able to:
- Set up your phone to record cleanly, from a built-in mic to a dedicated audio interface
- Mute the instrument you play and record yourself over the rest of the band
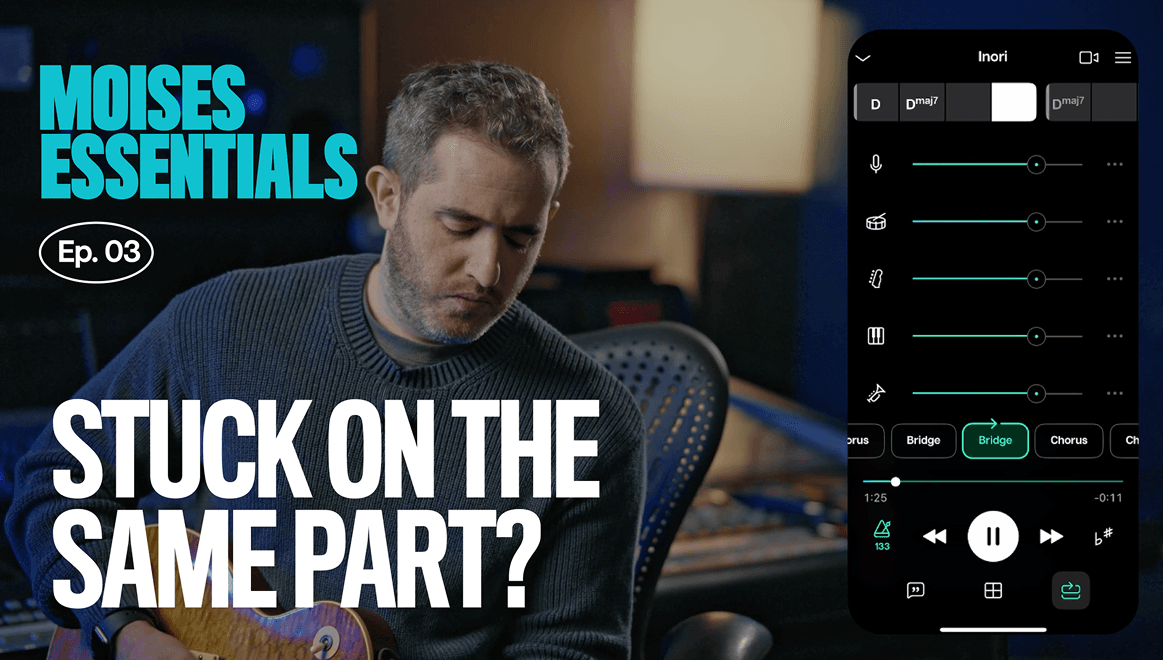
- Loop, slow down, and drill a tricky section before recording it at full speed
- Listen back to your takes honestly and spot exactly where to improve
- Keep every song, stem, and idea organized in one place
- Export and share a take straight from your phone
Set up the backing track
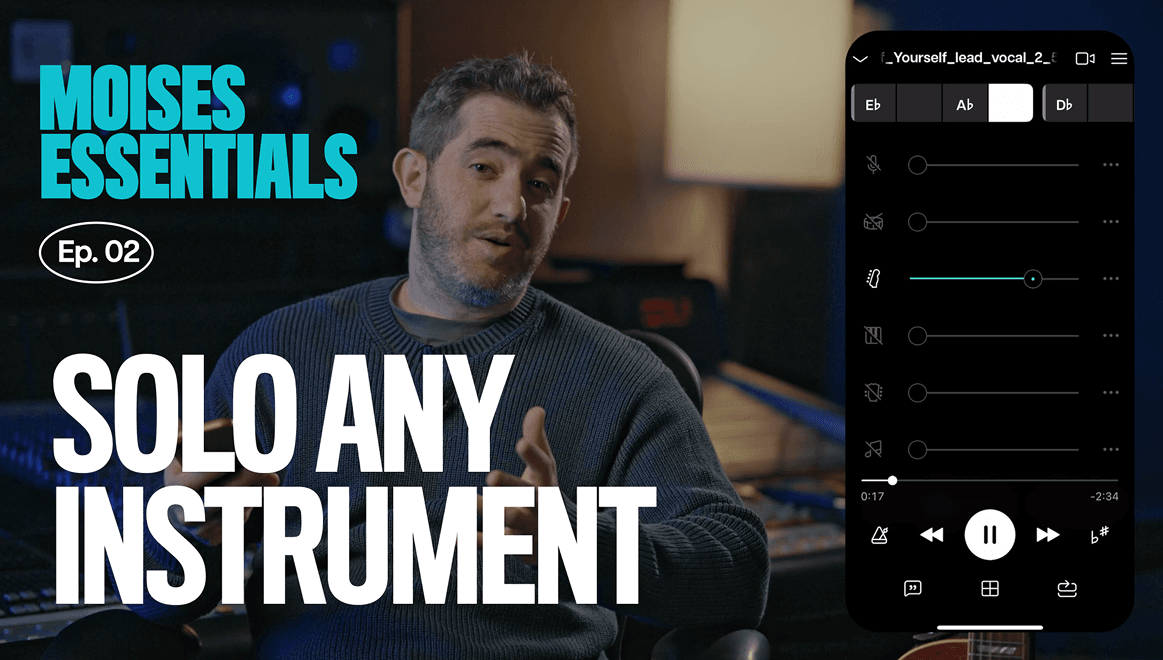
Before recording, the stems that will keep playing need to be set. Moises lets you mute the part you're about to perform while leaving the rest of the recording intact.
How to do it
- Open a track that you'd like to record yourself with.
- Mute the stem for the instrument or voice you're about to record.
- Leave the remaining stems at their normal volume as the backing track.
Why it matters
Muting your own part turns any song into a personal backing track, so a recording captures just your performance against the rest of the band.
Learn more about this feature
Enable a count-in
A count-in adds a few preparatory beats before playback starts, synced to the song's detected tempo.
How to do it
- Click the count-in button and select how many beats you want for your count-in.
- Get ready to play as the beats count down before the track starts.
Why it matters
A count-in removes the guesswork of starting cold, so a take is more likely to land on the beat from the first note.
Record your take
With the backing track and count-in set, Moises can record your performance directly against the muted stem.
How to do it
- Tap record and wait for the count-in to finish.
- Play or sing along with the remaining stems.
- Stop the recording once the section or song is finished.
Why it matters
Recording against the actual backing track, rather than a generic click, gives a much more realistic sense of how a performance sits in the song.
Learn more about these features
Review your take
A recording can be played back on its own or blended with the original track to check timing and tone.
Common uses
- Play back the recording itself to check for mistakes.
- Play it back together with the backing track to check how it fits.
- Re-record the same section as many times as needed.
Why it matters
Hearing a take against the original recording makes timing and tuning issues far more obvious than judging them in isolation.
Save recordings to track your progress
Every song you're working on lives in one place. Your recordings can be kept alongside the song they were made for, so earlier and later attempts at the same passage can be compared.
How to do it
- Save a take instead of discarding it after review.
- Come back to the same song after more practice and record again.
- Compare the two recordings back to back.
Why it matters
Nothing gets lost in a pile of unlabeled recordings. Every idea is captured, processed, and organized the moment you hit record.
Once you've got a take you're happy with, head to the Export option and send it anywhere: your camera roll, a bandmate or friend, or straight to Instagram or another platform if you recorded over a track.
How to do it
- Open the Export option on a take you're happy with.
- Send it to your camera roll, a bandmate, or directly to social platforms.
- Turn off the watermark from the Export options if it appears and you'd rather not have it.
Why it matters
Practicing, recording, and sharing don't require switching apps or exporting files around. It's one place, start to finish.
Learn more about this feature