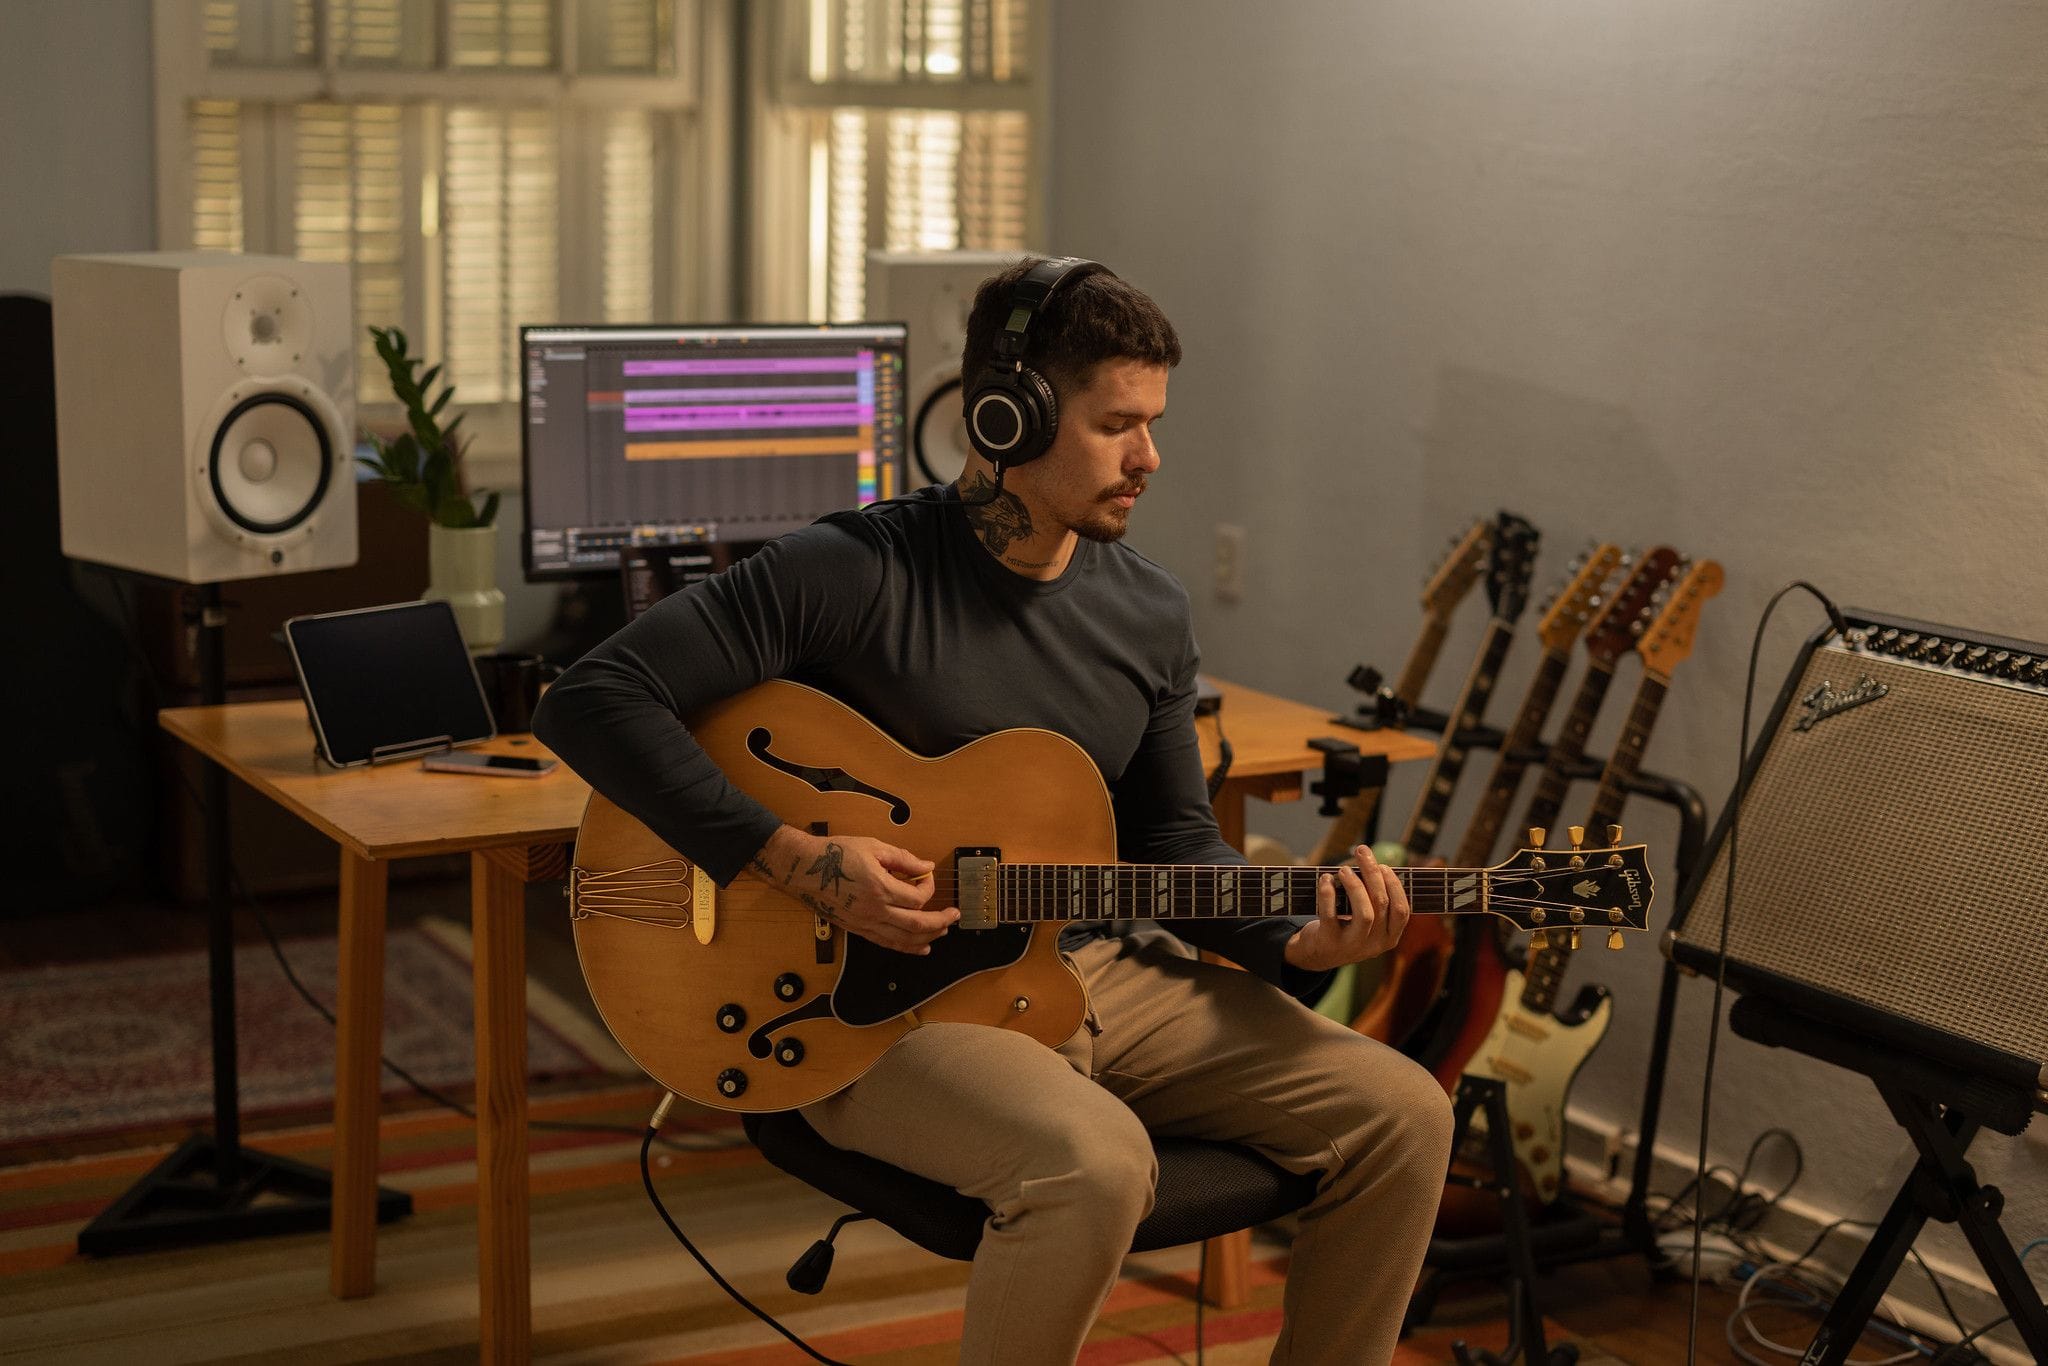
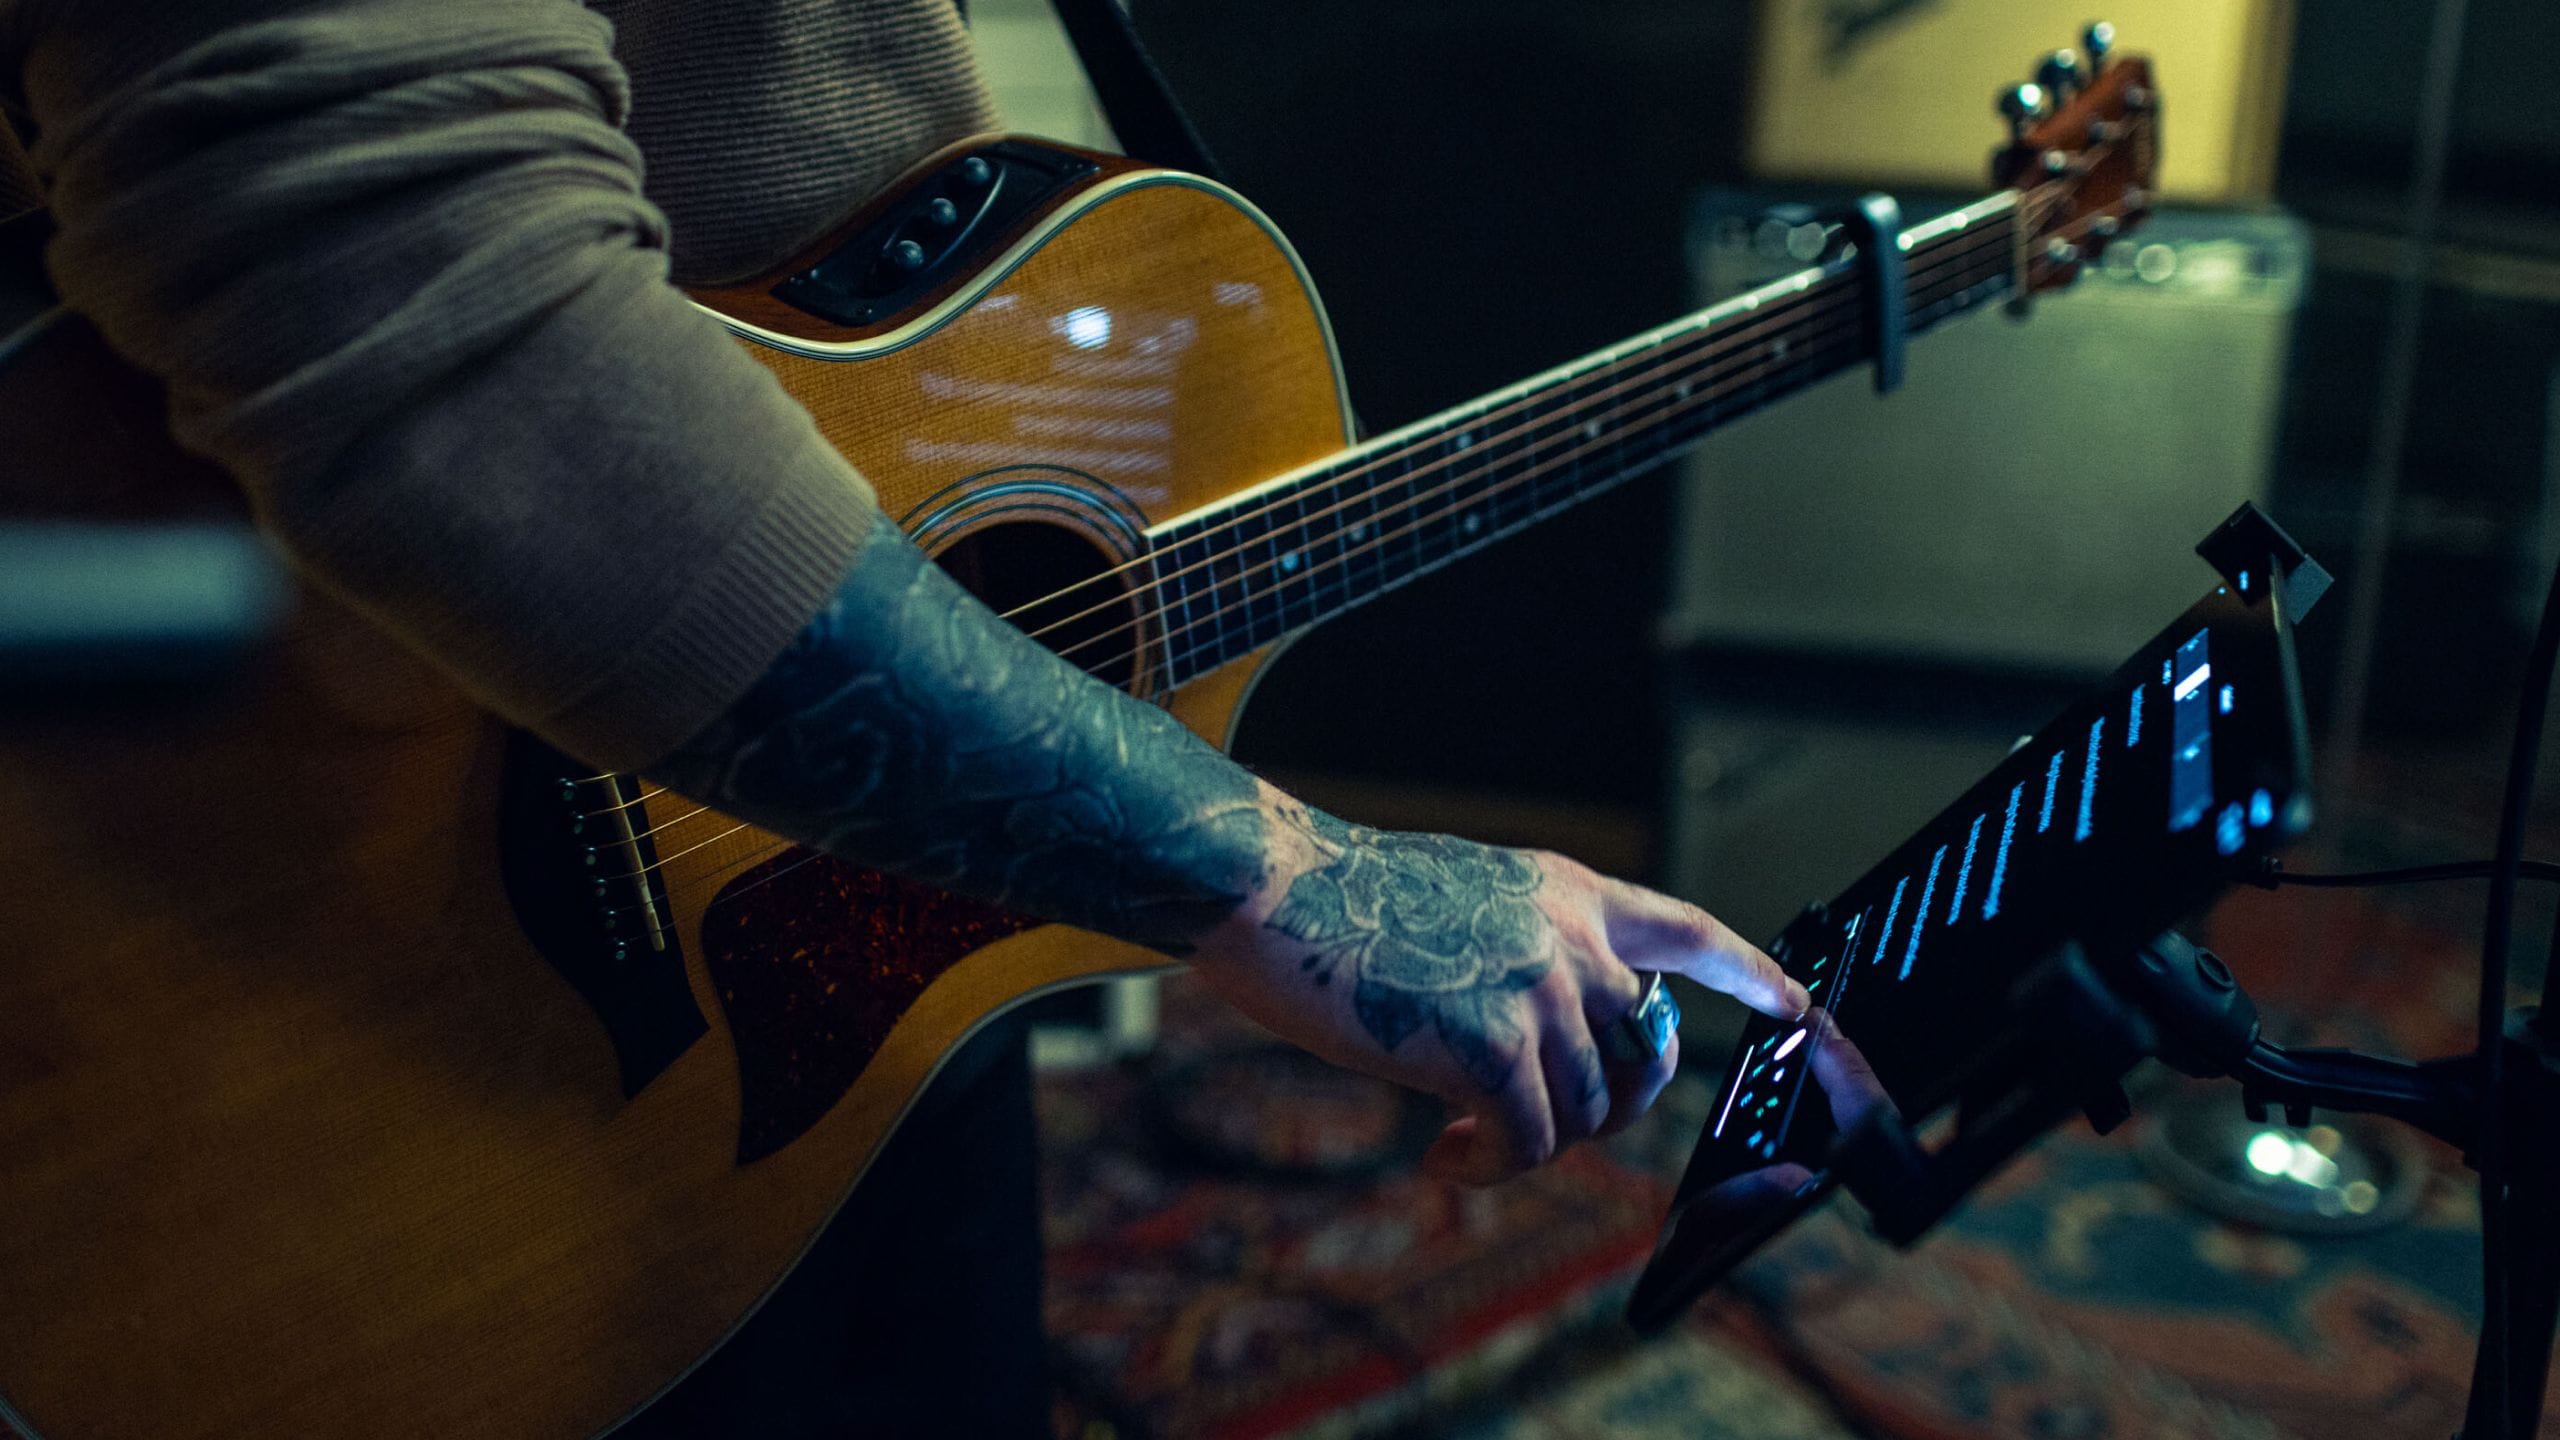
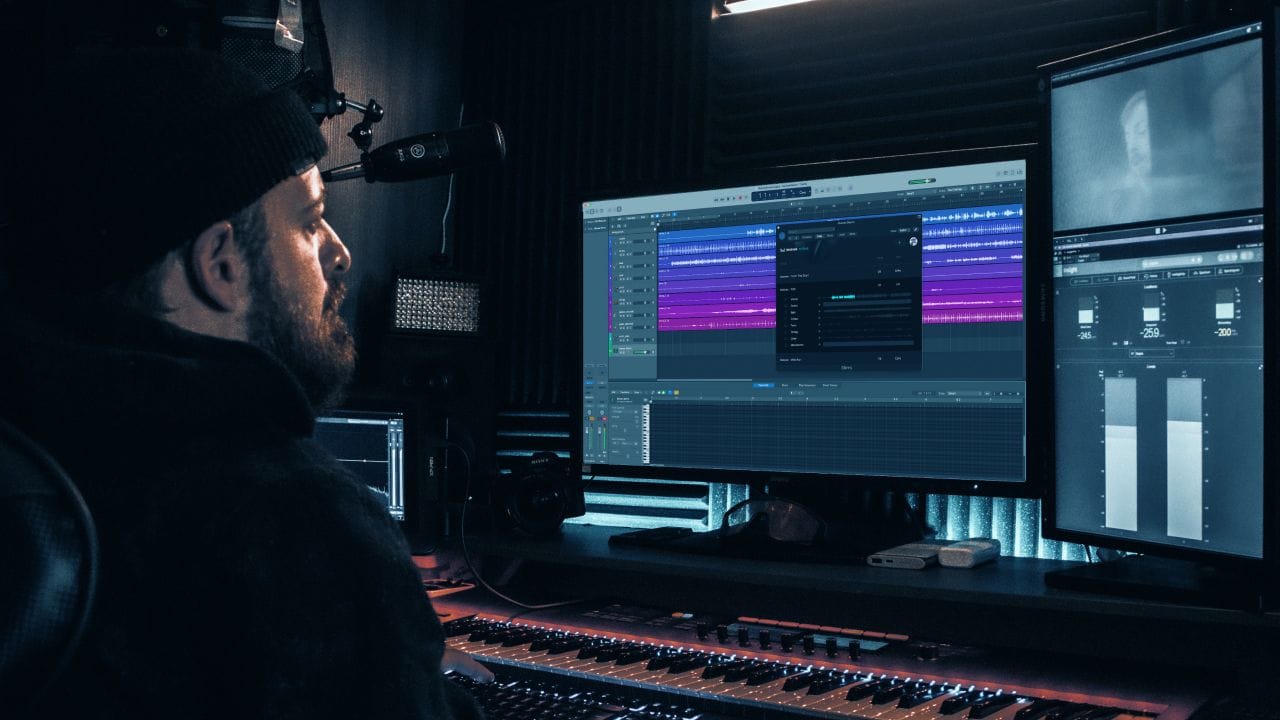
Recording electric guitar was once an experience relegated to only a select few premier musicians. They needed the access, the connections, and the money to get into big recording studios with professional engineers and producers. Those days are thankfully over. Today, recording professional-quality electric guitar in your home studio is not only doable, but is also pretty straightforward and budget-friendly. Whether you're laying down tracks for a new song or capturing demo ideas for a future project, achieving a professional sound is more accessible than ever with the right tools and techniques. From selecting the right gear to utilizing cutting-edge apps like Moises, this guide will walk you through how to get the most out of your home recording setup and teach you how to record guitar on PC.
Essentials for Getting Started
Before strapping on your guitar and pressing the record button, it's important to ensure you have everything you need for success. Let’s break down the gear and software you’ll need to record a professional-sounding electric guitar track within the comfort of your own home studio.
- A Digital Audio Workstation (DAW): Your DAW is an essential piece of software that not only allows you to record your electric guitar, but it’s also what you’ll use to edit, arrange, and add effects to your track. These days, there are a number of DAWs to choose from such as ProTools, Ableton Live, Logic Pro, and Reaper. Almost any DAW you use will have the capability to record a great sounding electric guitar, so choosing the one that’s right for you ultimately comes down to personal preference. We recommend doing some research on the different DAWs available and choose one that most aligns with your style and goals.
- An Audio Interface: Your audio interface is the piece of hardware that will connect your electric guitar to your DAW, converting the guitar’s analog signals to digital audio. Like DAWs, there are many interfaces on the market to choose from. We suggest recording with one that has a high-impedance (Hi-Z) input for guitars to ensure optimal sound quality. Many interfaces, such as the Apollo Twin, also come loaded with professional-quality preamps. These will strengthen and brighten your guitar sound, allowing your guitar to shine within your track.
- Microphones: Having one or two quality microphones MIGHT be an essential component to your recording setup if you’re planning to record your guitar through an amp (more on this later). For those who prefer recording amp tones, dynamic microphones like the Shure SM57 are excellent for capturing the detailed sound of your amplifier.
- Studio Monitors and Headphones: Invest in quality monitors or headphones to hear your recordings accurately and make better mixing decisions.
Direct input (DI) vs. Miking an Amp
There are two main approaches towards how to record guitar on PC - microphone recording or direct input (DI). Both methods have their strengths and limitations and we broke them down to help you choose the approach that best suits your recording needs.
Microphone Recording: Purists will argue that the only way to truly capture the sound of an electric guitar is with a microphone as it plays through an amp. While there are other viable options, miking your amplifier can certainly lead to some incredible guitar recordings. Mic recording captures the organic, full-bodied tone of an amplifier, including the nuances of its speaker and the room's acoustics, making it ideal for achieving a natural or vintage sound. For those who prefer the organic feel and warm grit of a real amp, this is the way to go. However, miking an amp does have its drawbacks as it requires proper mic placement, a well-treated room, and potentially more expensive gear. Also, playing through an amp can get quite loud, which can be challenging in a home studio setting. Even before the neighbors weigh in.
Direct Input (DI): DI recording involves plugging your guitar directly into your audio interface, a technique that has gained immense popularity as home recording technology has improved over the years. DI recording offers incredible flexibility, allowing you to record a clean signal and shape the tone later using amp simulation plugins. It's cost-effective, requires minimal setup, and it won't wake up the neighbors. Amp simulation software has come a long way in the last decade with programs like Amplitube and Guitar Rig. This software and others like them give guitarists hundreds of amp options and an endless amount of effects combinations for playing and recording. One downside to DI is that it can sometimes lack the character and warmth of a real amp. Achieving a truly authentic tone often depends on high-quality plugins and strong post-production skills.
Plugins and Effects
Once you’ve finished recording your guitar part, you can use a number of features and plugins within your DAW to take your sound to the next level. EQ plugins will allow you to carve out unwanted low-end frequencies as well as boost mids and highs for clarity. Use compression to balance the dynamics and use reverb and delay to add space, depth, and ambience to your guitar’s tone. If you’re recording DI, overdrive and distortion plugins can emulate the sound of a cranked-up amp. Experiment with layering tracks using different tones and effects to add richness and complexity to your recordings.
Using the Moises App
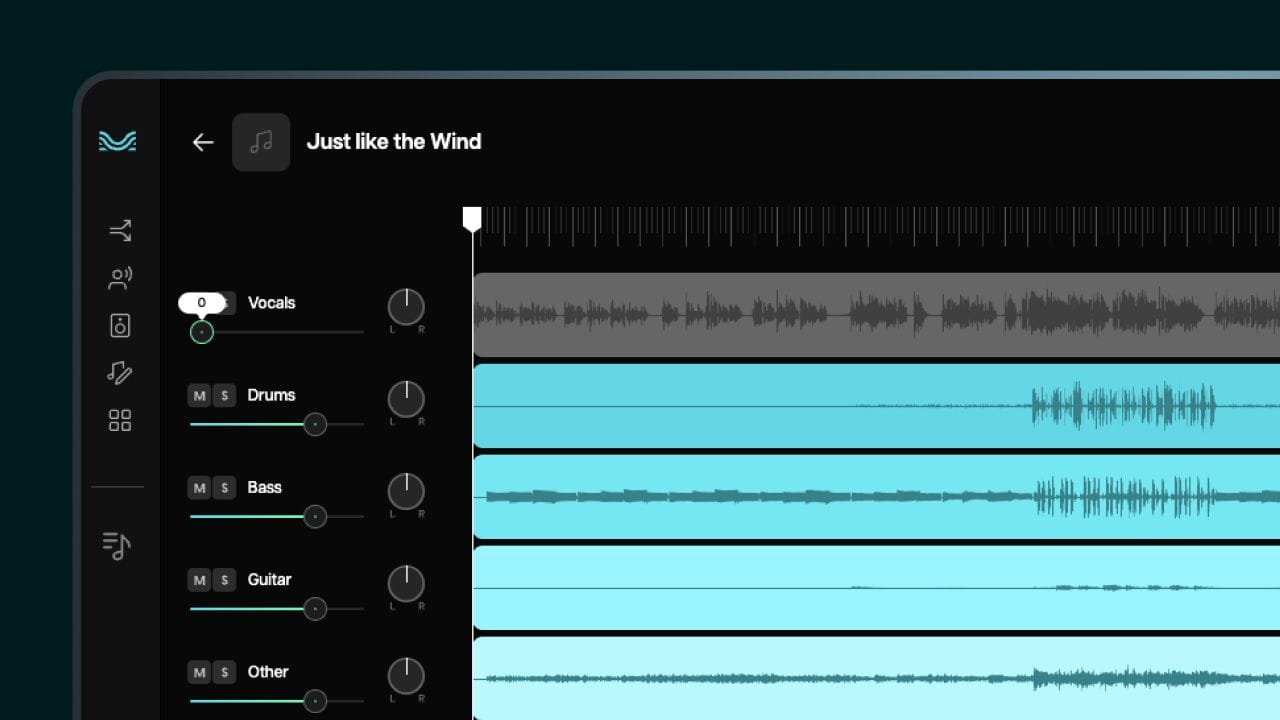
With its groundbreaking mastering feature and VST plugin for mixing, the Moises app offers guitarists and producers innovative tools to elevate their home recordings. Once your guitar tracks are recorded, use the Moises Mastering feature to polish your final mix. The AI-powered mastering tool adjusts EQ, compression, and loudness to ensure your guitar sits perfectly in the mix. It's an excellent option for home producers who want a professional-sounding track without outsourcing to a mastering engineer.
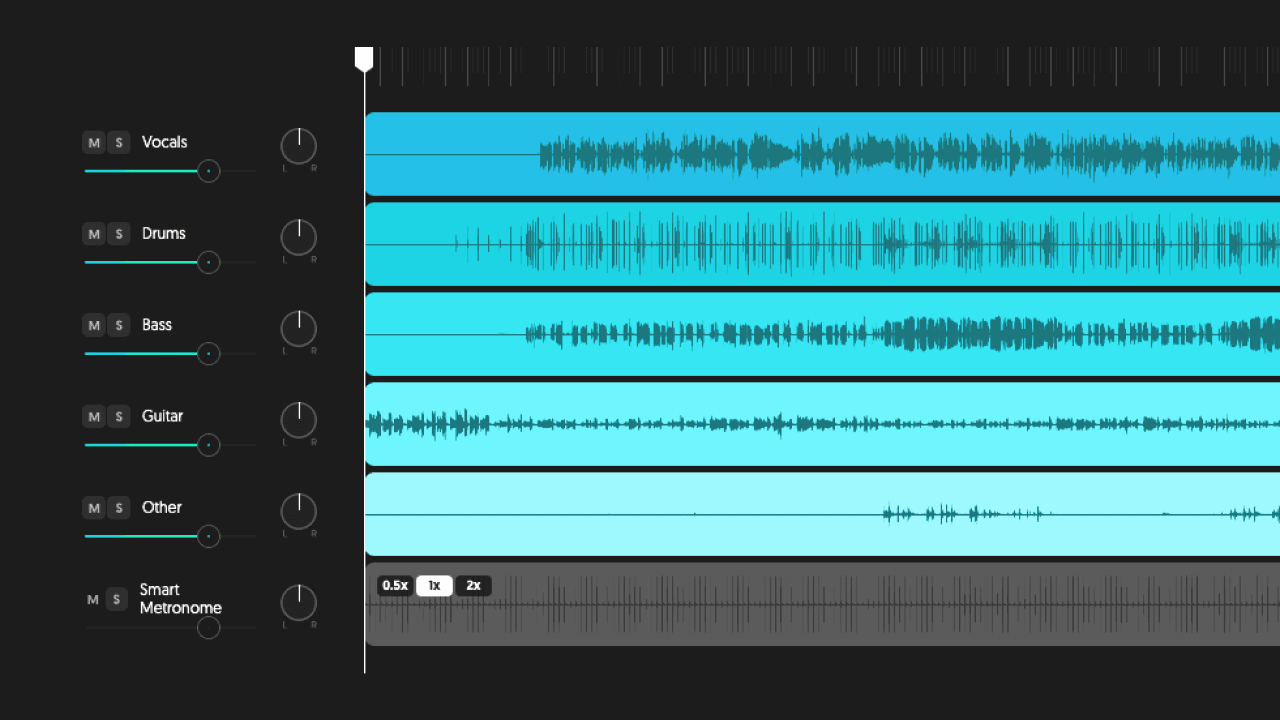
Moises also offers a VST plugin that integrates directly into your DAW. This tool allows you to isolate your guitar tracks, fine-tune their EQ, and analyze the stereo field for better balance. The plugin is particularly helpful for aspiring producers looking to learn by dissecting professional mixes.
Pro Tips
Now that your studio is in order, your gear is set up, and your fingers are ready to play, here’s a few more tips that will push your electric guitar recording to the next level.
- Don’t over do it with the plugins and effects. While plugins are powerful, overuse can muddy your mix. Start with subtle adjustments and add more if necessary.
- Before recording, treat your guitar to a fresh pack of strings. New strings will make your guitar sound bright and alive. You can even go a step further and get your guitar tuned up and intonated before recording. This will ensure your guitar is sounding and feeling its best.
- Proper gain staging is crucial to a good sounding mix, so be sure not to skip this initial step. Check that your input levels are neither too low nor too high to avoid distortion, clipping, or noise.
- Use a noise gate plugin to reduce unwanted hum and noise from your signal. Unless you’re going for a noisy crunching sound, a noise gate will help the beautiful tones of your guitar shine through.
- Take advantage of free plugins. Amp simulator plugins the Blue Cat Audio Free Amp or Ignite Amps Emissary offer incredible sounds for free. It’s a no brainer when starting out.
- If recording through a microphone, try some DIY sound treatment in your studio space to deaden the room. Household items like rugs, bookshelves, and blankets can help to dampen reflections and eliminate unwanted reverb.
Written by Jesse Stanford, Company Cue
