Are you ready to unlock the full potential of your home studio setup? Mastering how to use an audio interface may be the next step in transforming raw recordings into crisp, professional-quality tracks.
We understand that facing a sophisticated piece of hardware like an audio interface can appear daunting — with its array of knobs, types of inputs, and software settings. But fear not: follow our step-by-step guide to navigate through the setup and a host of sound configurations, ensuring a smooth transition from plugging into laying down hit-quality sound.
Keep learning to understand how to use an audio interface with a DAW!
What is an audio interface and how does it work?
An audio interface is indispensable for any digital music producer aiming to link their audio gear with the host computer. It serves as the crucial bridge that facilitates the analog-to-digital conversion (ADC) of the analog precision from your microphone input and other instruments. By converting the incoming signal into a digital signal, the interface ensures a high-fidelity transfer of sounds into your DAW (Digital Audio Workstation).
Equally important is the digital-to-analog conversion (DAC), which takes the processed digital audio from the workstation and turns it back into an analog signal, delivering a pristine sound reproduction through your monitors or headphones.
Coming to grips with how to use an audio interface empowers you to tackle various recording scenarios confidently. Learn more below.
Connectivity
An interface has many inputs for connecting devices like microphones, guitars, and keyboards. It boosts softer microphone signals and provides special inputs for guitars. With outputs for speakers and a separate one for headphones, you can easily hear your music as you record or mix.
Quality
The sound quality you achieve directly results from the precision of your interface’s analog-to-digital and digital-to-analog conversion (ADC/DAC) pathways. Furthermore, the stability of the interface's internal clock is critical as it ensures the accurate timing of sound samples. Most interfaces also outshine the standard sound available on a computer by providing higher fidelity and more headroom, thereby reducing noise and capturing a fuller acoustic detail.
Software and controls
Learning how to use an audio interface includes mastering its software and hardware controls for optimal sound manipulation. Interfaces might come with a dedicated control panel that allows users to adjust settings such as input/output routing, buffer size, monitor mix, and more. The control surface itself often features gain knobs, light-emitting diode (LED) level meters, phantom power switches for condenser microphones, input-type switches, and various monitoring controls.
Latency
Latency refers to the delay between entering an input and hearing its playback, which arises because recorded signals must journey to the DAW and back for signal processing. Many interfaces offer direct monitoring, which lets you bypass this round trip, routing input device audio directly to headphones or speakers for real-time feedback with no latency.
MIDI
Some interfaces include MIDI I/O (input and output), enabling MIDI devices like keyboards and drum machines to seamlessly interact with your DAW for recording and control.
How to set up an audio interface?
Setting up properly starts with knowing how to use an audio interface correctly. This culminates in a sequence of decisive steps, from installing necessary drivers to connecting and updating firmware, setting output devices, routing output signals, plugging in your array of instruments, such as your prized drum kit or midi keyboard, and ensuring all is tested well.
Next, we’ll guide you through the process using easy-to-follow steps that ensure a smooth experience and an optimal DAW recording:
- Driver installation: determine if your interface requires specific drivers — software that allows your device to communicate with your computer. Some interfaces use off-the-shelf drivers, but always check your manual or online for device-specific ones.
- Interface connection: connect your interface using the accompanying USB or thunderbolt cable, steering clear of connection via a hub, which might introduce unwelcome latency or hinder output signals.
- Firmware updates: engage with your control app or device settings to ensure your interface's firmware is up-to-date, as this drastically improve performance and compatibility with your audio gear.
- Monitors and headphones: connect your headphones and studio monitor speakers (with the monitors powered off to guard against surges). If your interface has more than one audio output, designate them appropriately within your DAW.
- Audio source and outputs: let your computer know which device is managing input and output. Set this in the sound section of your system preferences, or within your DAW.
- Outputs routing: if your interface has multiple outputs, direct them correctly within your DAW to match where you want the sound to go, particularly your master output.
- Instruments plugging: plug your instruments and microphones into the interface, using XLR cables for microphones (turn on phantom power if using condenser mics) and 1/4" cables for instruments.
- Setup testing: before beginning a full recording session, verify that your inputs and outputs are working properly by making some test recordings with a conservative output volume and adjusting the input gain as needed.
With these targeted strategies, how to use an audio interface becomes second nature, ensuring your setup is perfectly calibrated for recording excellence.
How do buffer size and direct monitoring affect audio recording?
Buffer size and direct monitoring are fundamental concepts when recording with a DAW and an audio interface. The buffer size that you set determines how much sound data your computer will process in one go before sending it to the interface for playback, affecting both the strain on your CPU and the latency of the sound signal. A smaller buffer size gives you less latency, which is beneficial when recording so performers can play along in real time. Still, it can also increase the demand on your computer's processor.
Direct monitoring, provided by many interfaces, allows the performer to hear the input signal directly before it's sent to the computer, eliminating the troublesome delay and enabling real-time feedback. This is especially advantageous for vocalists and instrumentalists who rely on instantaneous auditory cues.
By managing buffer sizes and utilizing direct monitoring, you can ensure a smoother recording session, focusing on performance without the distracting delays or sound dropouts that can occur with improper setup.
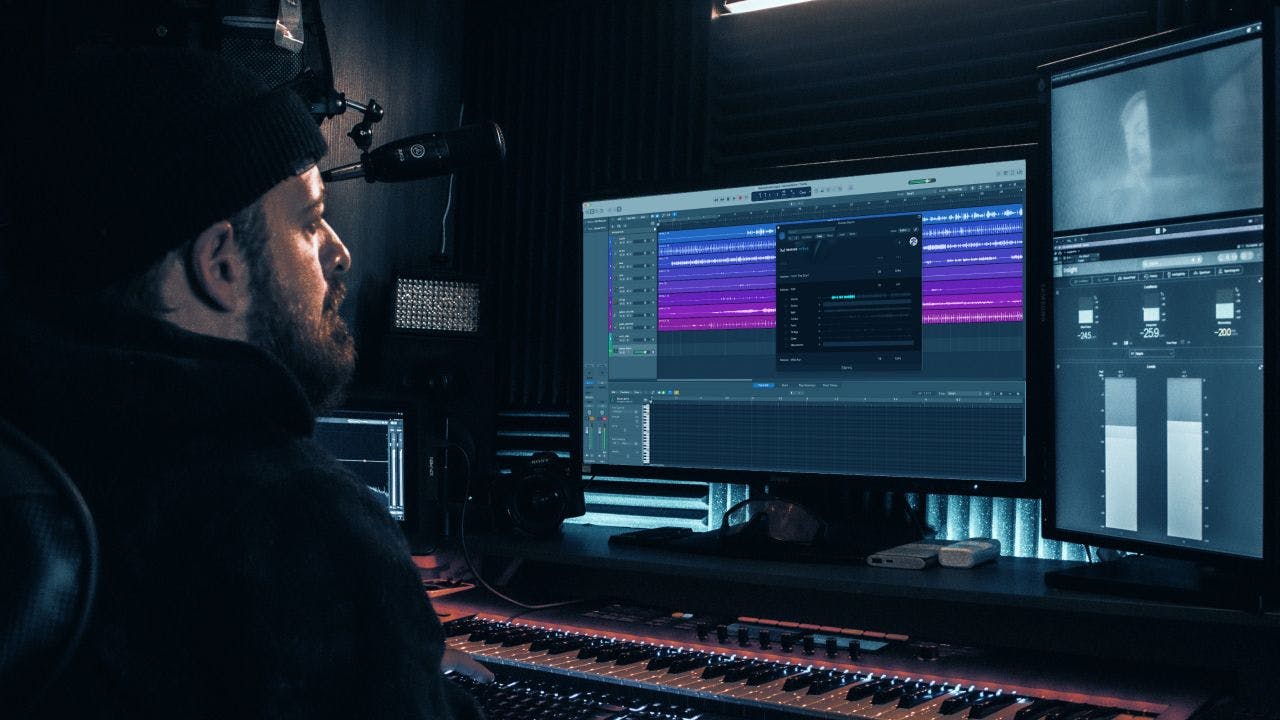
How to use an audio interface effectively to record?
Effective recording techniques and strategies can significantly enhance the workflow when you know precisely how to use an audio interface. Integrating them into your workflow involves considering the recording environment, selecting appropriate gear, optimizing audio settings within the DAW, and preparing for the session.
Integrating techniques and strategies into your recording workflow might require some upfront learning and practice. Still, it can significantly improve the recordings' quality and the sessions' efficiency using your interface. Check out some tips below.
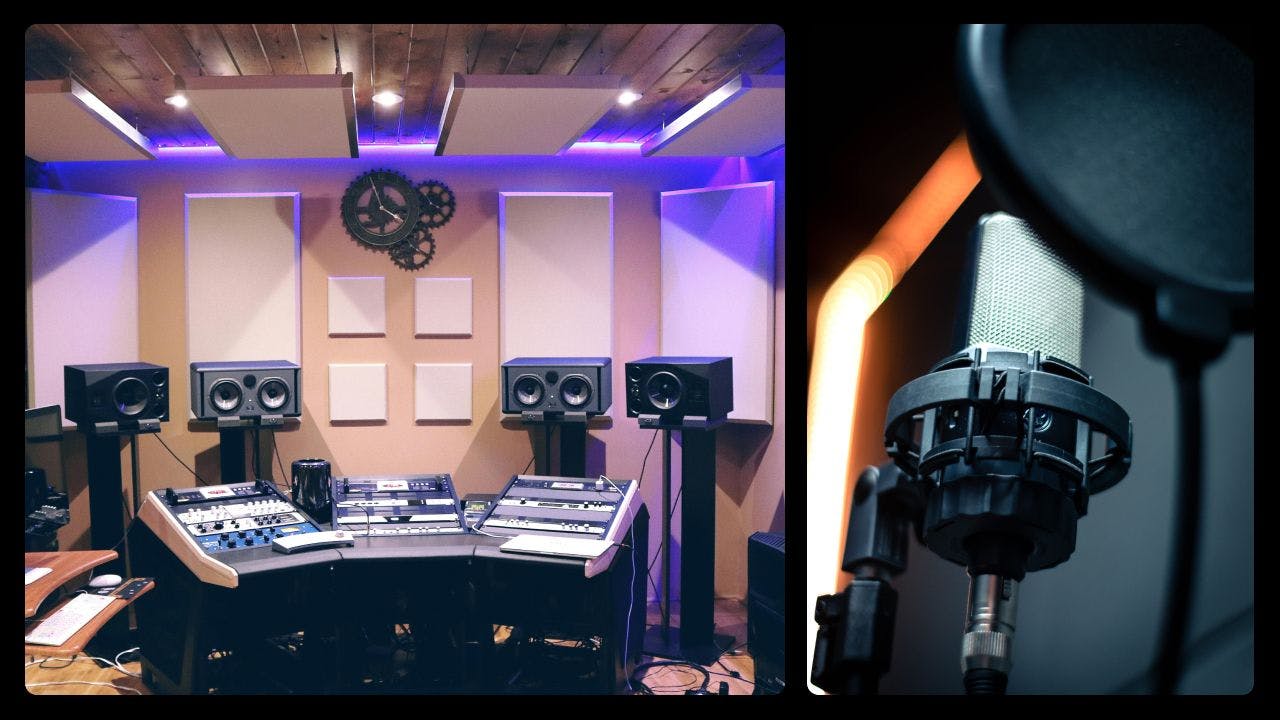
1. Stage setup
Aim for acoustically treated space to reduce noise and echoes. Then, choose the right mic and position it to capture your sound best.
2. Gear tuning
Tune and ensure all instruments and equipment are at peak performance. Also, remember to adjust interface gain for robust audio without peaking.
3. Sound monitoring
Use direct monitoring features for real-time precision, and select the right sample rate and bit depth in your DAW for pristine sound quality.
4. DAW configuration
Set up DAW session templates with go-to tracks and effects for quick starts. Then, craft well-balanced mixes for the performer's headphones.
5. Equipment optimization
Gain the warmth and clarity that quality preamps provide, and use appropriate inputs or DI boxes for instruments like electric guitars.
6. Effect processing
Use your interface's DSP (Digital Signal Processing) for enhanced effects and sound checks.
7. Safety and quality management
Regularly save and backup sessions — better safe than sorry in this case! Post-recording, critically review takes to catch and fix any issues.
How to choose the right interface?
Deciding on an interface is easier when you understand how to use an audio interface to suit your recording needs, both current and future. When selecting one that meets both your current and future recording needs, ensuring high-quality output, system compatibility, and flexibility for various recording scenarios, consider the following factors:
- Your current needs: assess your simultaneous recording requirements for microphones and instruments. Choose an interface with ample inputs for multiple sources like drums or live performances. Ensure 48V phantom power for relevant microphones and evaluate output connections, including a headphone jack and studio monitor outputs.
- Possible future needs: anticipate potential growth in recording needs. Select an interface exceeding your current minimum inputs/outputs for future expansion. Consider interfaces with options for additional preamps or digital connections like ADAT/S/PDIF for possible upgrades.
- Audio quality: prioritize interfaces with high-quality preamps for optimal microphone performance. Choose a model supporting industry-standard sample rates and bit depths (e.g., 24-bit/48kHz or higher) to ensure professional audio quality.
- System compatibility: confirm interface compatibility with your computer's operating system and DAW. Opt for a connection type (USB connection, thunderbolt etc.) your computer supports for optimal performance. Verify whether the interface is bus-powered or requires an external power supply.
- Extra features: look for interfaces with built-in DSP for effects or amp simulations during recording. Assess the necessity of MIDI I/O for connecting hardware MIDI devices.
- Portability: consider the size, weight, and durability of the interface for various locations or on-the-go use. Ensure the portable interface aligns with your mobility needs without compromising functionality.
- Budget: determine a budget that balances essential features and quality within a comfortable price range. Consider long-term value and performance when making budgetary decisions for the audio interface.
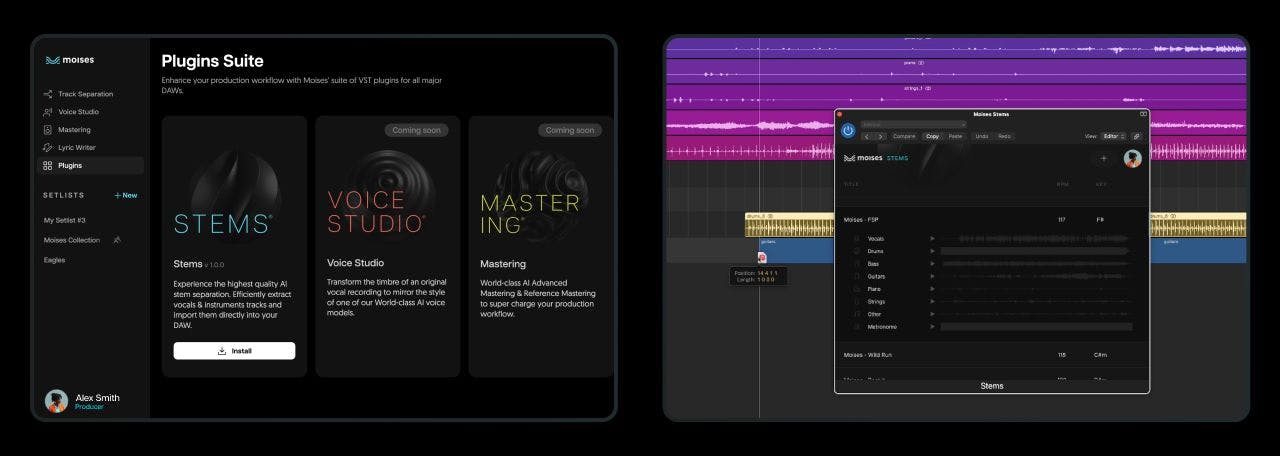
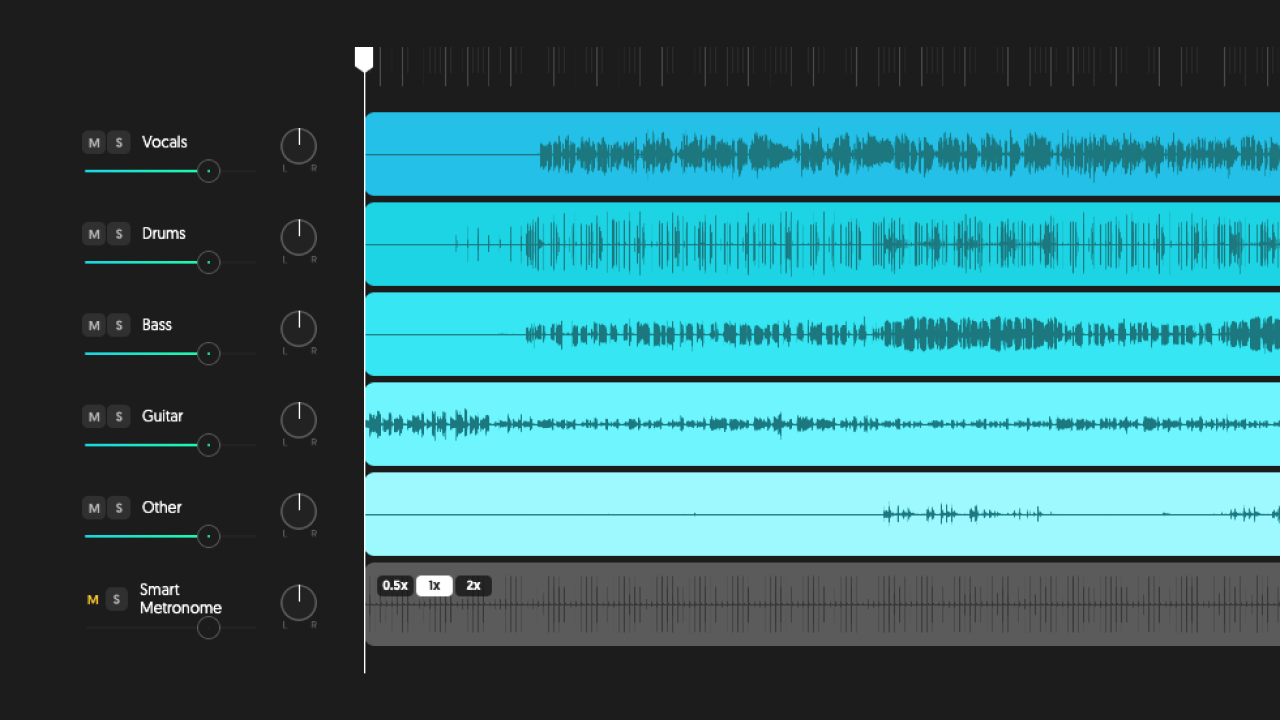
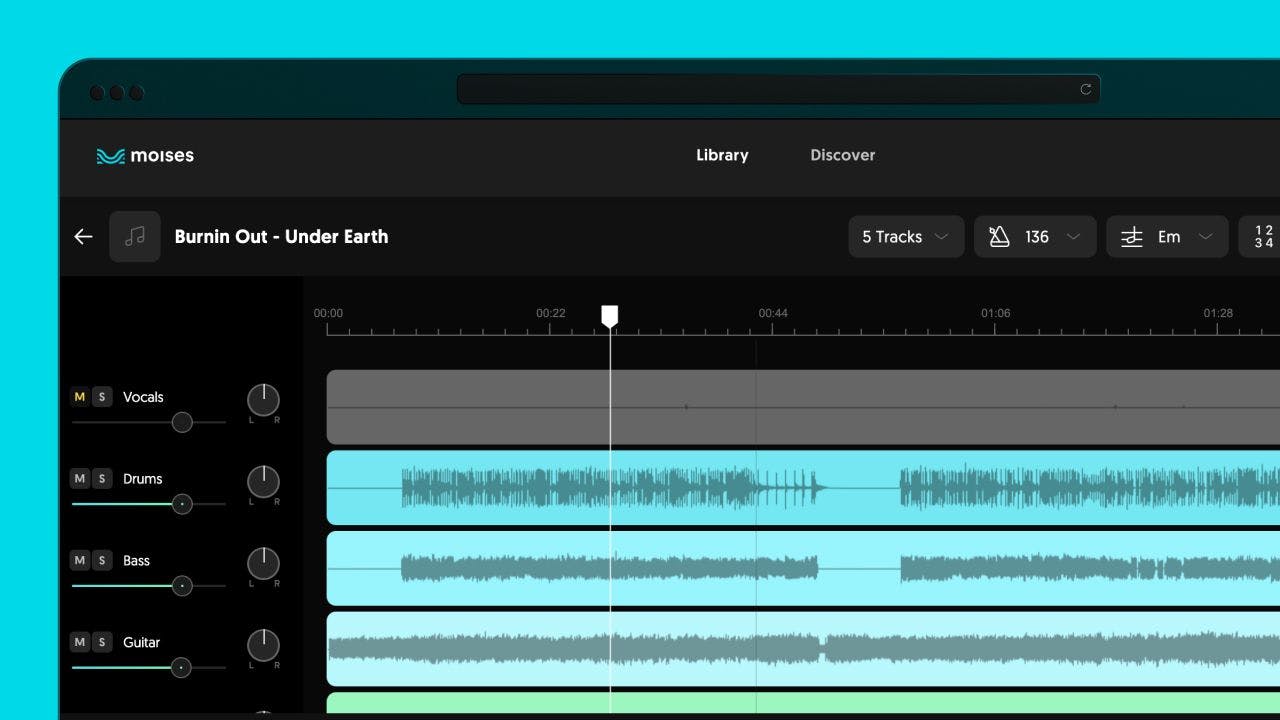
How to work with the Stems plugin and your interface in a DAW?
Moises' Stems plugin streamlines the process of working with audio tracks within a DAW by utilizing AI-powered audio separation technology. While the plugin doesn't interact directly with an audio interface — which serves as a hardware bridge between your physical inputs/outputs and your DAW —, it does significantly impact the workflow within the DAW itself.
Here's how the Stems plugin fits into the workflow alongside an audio interface and a DAW:
- Recording: you might start by recording audio using your interface. This could include vocals, instruments, or any other sound. The audio interface converts the analog signals to digital, and the DAW records them as tracks.
- Audio Separation: you may want to isolate certain elements of your recording after the fact (e.g., vocals from a full mix). Instead of doing this manually, which is time-consuming and often inaccurate, you can use the Stems plugin within your DAW.
- Plugin: you can use the Stems Plugin to perform high-quality audio separation on the tracks you’ve recorded or imported into your DAW — for instance, separating the vocal track from the background music.
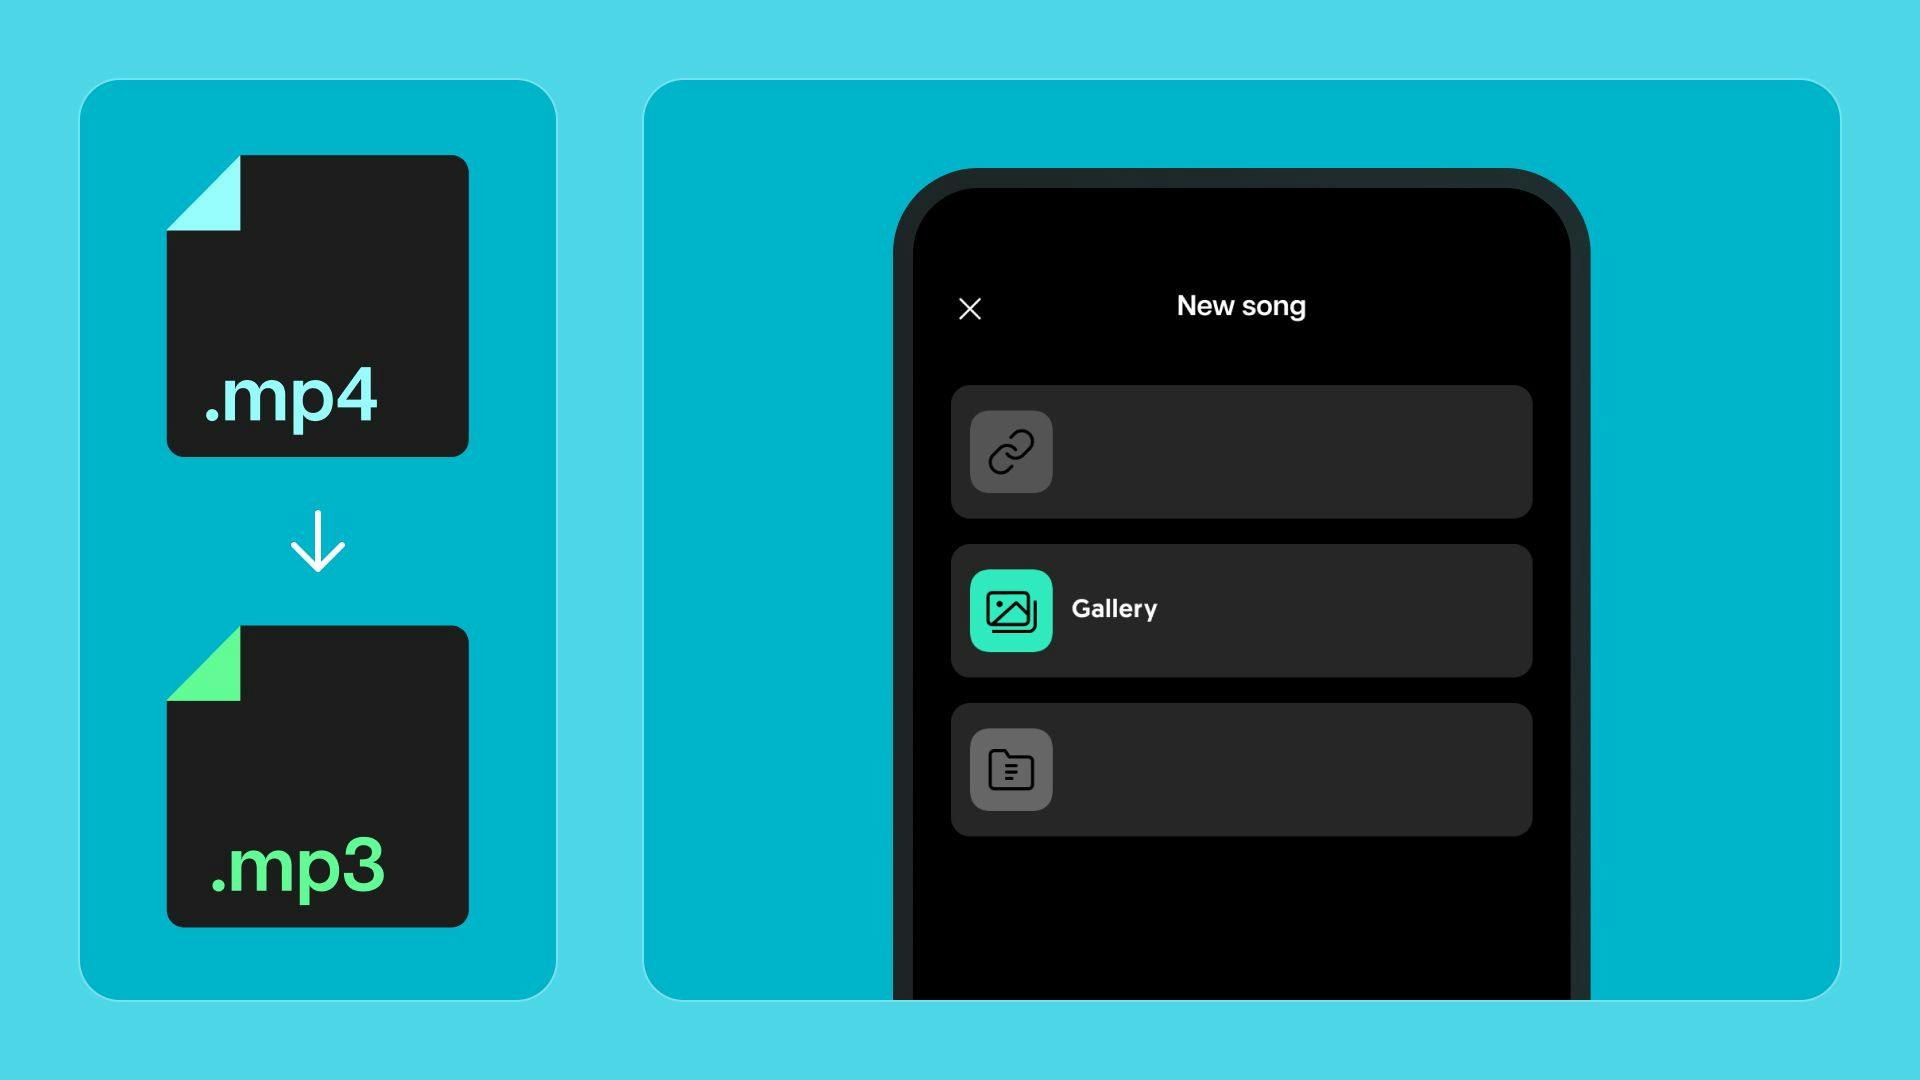
- Integration: the Stems plugin operates as an in-DAW effect to process your selected audio tracks. It enables direct uploading of files or track entry via URL for seamless use within the plugin.
- AI-powered processing: the plugin uses AI to analyze and break down the audio into separate 'stems', such as Vocals, Drums, Bass, etc. This processing is done within the DAW using the computational resources of your computer or external resources if the plugin operates by sending data to cloud-based servers for processing.
- Export and usage: once the audio has been separated into stems, you can then drag and drop them directly into your DAW workspace as individual tracks in high-fidelity WAV format. These separated stems can be edited, mixed and mastered using the tools available within your DAW like any other track.
- Final production: utilizing the separate stems, you can easily create edits, apply additional effects, automate processes, and ultimately produce a more polished piece of music. Having each element independent gives you more flexibility in manipulating the sound to your liking within the DAW.
The Stems plugin essentially serves as a powerful utility for music producers working with a DAW, enhancing their ability to manipulate recordings without needing to depend on intricate manual editing techniques. It fits in the digital part of the music production process and improves interaction with the DAW by providing additional features and capabilities in audio manipulation.
Mastering how to use an audio interface with a DAW is central to the synergy between technical setup and creative production, enabling efficient workflows and superior sound quality. Regularly saving and backing up your work safeguards your recordings. At the same time, a deep understanding of your interface's capabilities can unlock a wealth of creative potential and refine your recording process, which is crucial for both aspiring enthusiasts and seasoned audio professionals.
Interested in music production? Click here to learn more about Moises for producers!