The acoustic guitar has been a key element to musical recordings since the early days of folk, country, and rock and roll and it doesn’t seem to be losing steam. Given its beautifully rich tones, versatility in a mix, and compatibility with other instrumentation and vocals, it’s easy to see why. But capturing an acoustic guitar’s distinct sound is no easy feat for a producer. Recording the acoustic guitar takes careful planning, precise techniques, and a deep understanding of your tools. Whether you're producing in a home environment or a professional studio space, we’ve got all the tips you need to learn how to record acoustic guitar.
Prep for the Session
As tempting as it might be to grab your guitar and start recording, you would be wise to do a few things first to prepare yourself, your guitar and the room.
- Fresh Strings and a Tune-Up: Let’s be honest, it’s probably been a while since you last changed the strings on your trusty acoustic. It might not seem that important, but old strings can make your guitar sound dull and lifeless, especially on a recording. Instead, throw on a new set of strings and make sure they are perfectly tuned before pressing the record button. Fresh strings bring out the guitar’s natural brightness and clarity.
- Room Selection: Because of its rich tonal characteristics and dynamic range, where you record an acoustic guitar makes a huge impact on the final sound. Acoustic guitars project sound from both the sound hole and the body, so you’ll want to record in a room with natural acoustics and minimal echo and background noise. Rooms with wood floors and minimal hard surfaces are ideal to capture its warm tones. Add rugs, curtains, or foam panels to your room to control reverb and avoid harsh reflections.
- Noise Control: Don’t forget to make your recording space as quiet as possible. Turn off all fans, air conditioners, noisy gear and amps, and any other background noise sources. Even the most subtle of sounds can make their way into your recording.
- Know Your Role: Knowing the role the acoustic guitar is playing in the song is important when making decisions about how to record it. Is the acoustic guitar the centerpiece of the track, or is it a supporting instrument? The answer to that question will help determine mic placement and tone adjustments when you begin setting up to record.
Mastering Mic Placement
Proper mic placement is critical for recording an acoustic guitar. The placement determines how much of the sound hole, strings, and room ambiance are captured in your recording. Here are a few mic placement suggestions as well as some other considerations when you’re finally ready to start playing and recording.
- 12th Fret Placement: Often considered the “money spot” for acoustic guitar recording, position a condenser mic about 12 to 16 inches away from the 12th fret. Placed here, the microphone will capture a balanced tone, highlighting the brightness of the strings as well as the warmth of the guitar’s body.
- Sound Hole and Body Placement: Place a second microphone just below the bridge angled slightly at the body. This will capture more of the guitar’s bass tones that, when combined with the 12th fret mic, will create a full and richer sound.
- Over-the-Shoulder: Another technique is to position the microphone over the guitarist’s shoulder pointing down towards the sound hole. This captures a sound that mimics what the guitarist hears when they play which can add flair and realism to the recording.
- Move Around: No guitar, guitarist, or room is exactly the same, so experimentation and trial and error is a crucial component of proper mic placement. Test and adjust mic placement as much as necessary. You’ll be amazed at how one small adjustment can make a huge difference in the overall sound and tone.
Studio Quality Sound
Ok, so you've changed your strings, found the perfect room, and have placed your mics in the perfect positions. There’s still more you can do to ensure a professional sounding recording, even within the comforts of a home studio.
- Layered Recordings: Record the same part twice and then pan each hard left and right in the mix. Doing so can create a lush, chorus-like stereo sound.
- Add Subtle Effects: In the mixing stages, adding light reverb, EQ, and compression can enhance the guitar presence within the song and add depth and clarity when necessary.
- Pop Filter for Fingerpicking: Placing a pop filter over a microphone isn't just for capturing clear vocals. You can also use a pop filter to eliminate unwanted string sounds and pick clicks, particularly when fingerpicking.
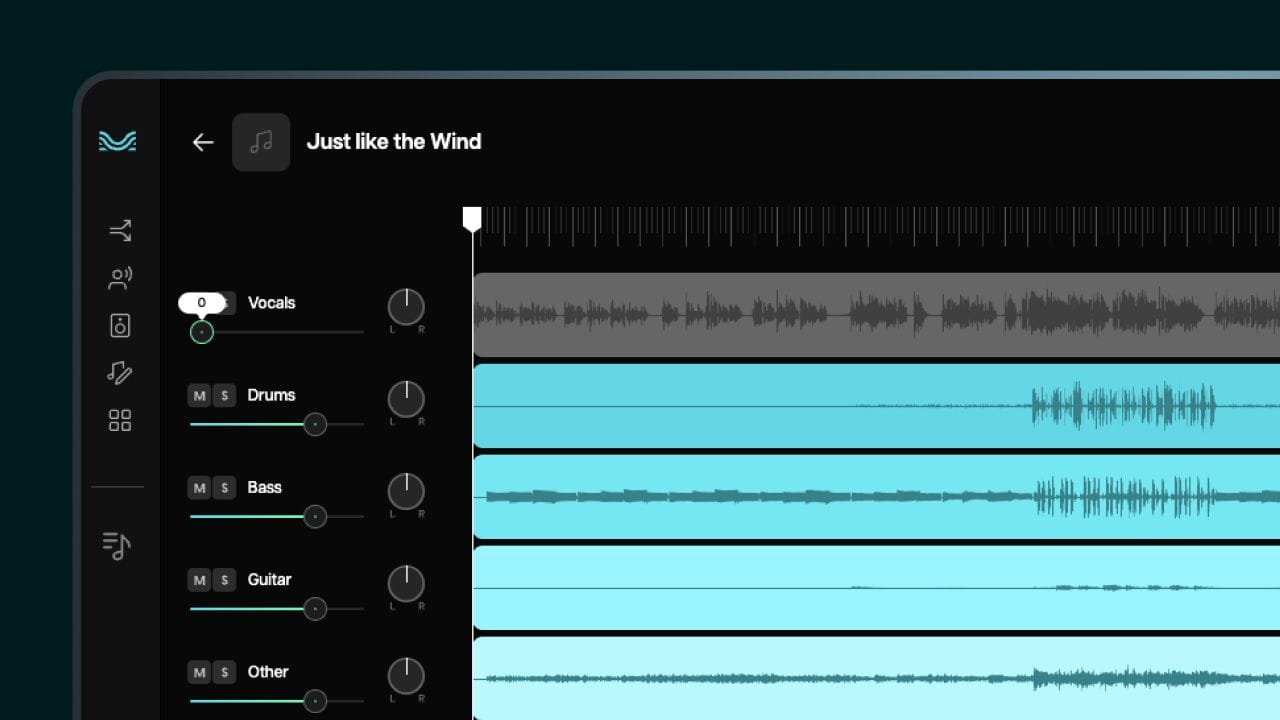
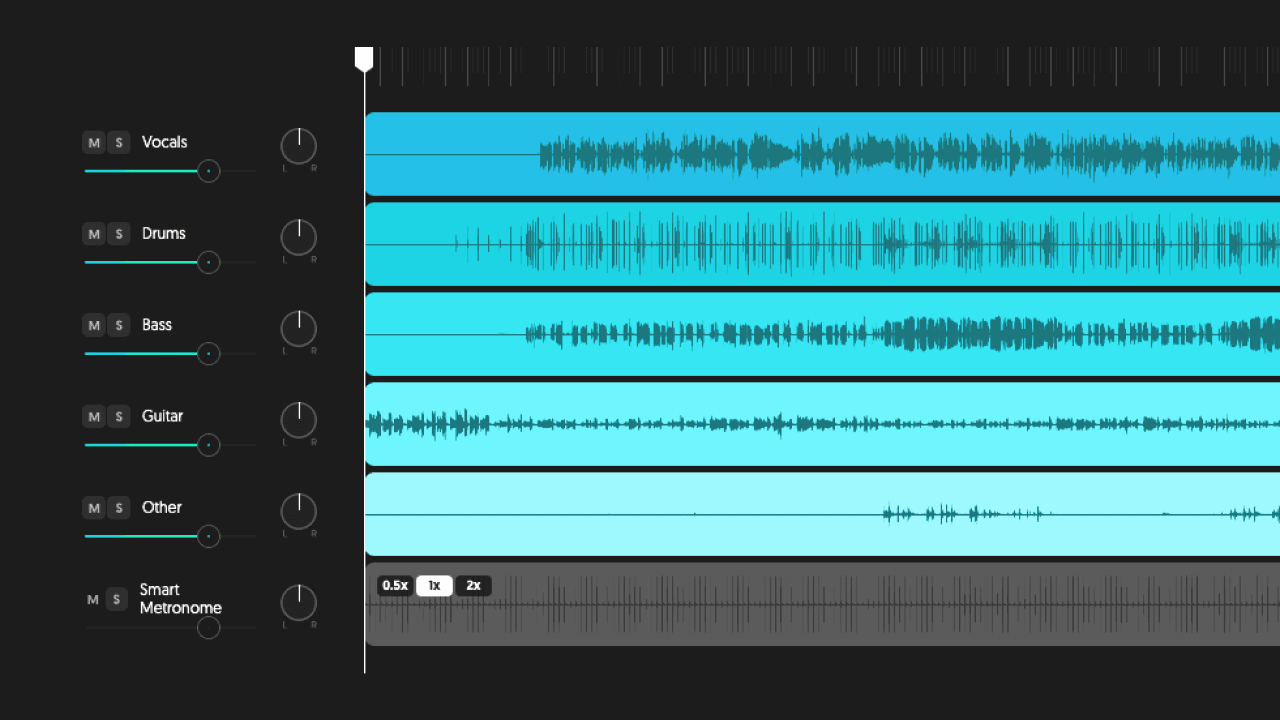
- Use Moises’ AI Mastering feature with a Reference Track: You can utilize Moises’ mastering with Reference Track feature to compare your acoustic guitar recordings with professionally mastered tracks. By uploading a reference track that aligns with the desired sound, the app analyzes and adjusts the tonal balance, EQ, and loudness of the recording to match the quality of the reference.
Common Mistakes to Avoid
- Recording Too Close to the Sound Hole: If you’re going for a muddy, boomy, and distorted sound, then by all means, put the mic right up to the sound hole. However, if you want to capture the warm, rich, and balanced tones of an acoustic guitar, you’ll want to point your microphone more off center about 6 to 12 inches away from the guitar.
- Not Experimenting with Mic Placement: We know you're eager to get those mics placed and start recording, but trust us, spending a bit more time experimenting with mic placement can make all the difference between capturing a “good” guitar take versus a “great” one. Don’t rush the process!
- Overusing Compression and EQ: Subtle usage of effects can add incredible depth and clarity to your guitar recording, but it’s easy to overdo it. Excessive equalization can strip away the guitar’s natural tone, leaving you with a more sterile, almost robotic sounding acoustic guitar sound. You don’t want that.
Get Accustomed to Acoustic
Recording an acoustic guitar is as much an art as it is a technical process. With the right room setup, thoughtful mic placement, and attention to detail, you can capture a professional-quality sound that highlights the beauty of your instrument. Experiment, trust your ears, and enjoy the process of creating music that resonates with clarity and emotion.
●●●Written by Jesse Stanford, Company Cue
